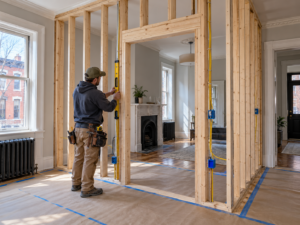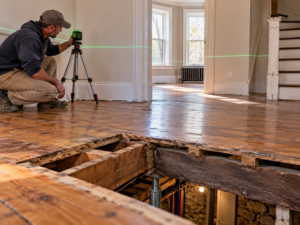

Multi-Room Remodeling Sequence: How to Stage Your RenovationDeciding to renovate your kitchen, update two bathrooms, and refinish the floors throughout your home is an exciting milestone. However, diving into a multi-room renovation without a rigid, chronological game plan is a recipe for disaster.When homeowners act as their own general contractors without understanding construction sequencing, they often end up paying for work twice. They might install beautiful new hardwood floors, only to realize the plumber needs to rip up a section to run a new drain line for the kitchen island.
Or they might paint the living room, only to have the drywall dust from the adjacent bathroom demolition ruin the finish.At PHS General Contractor Philadelphia, we oversee complex whole-home renovations. We know that efficiency lies in the sequence. Here is the professional, step-by-step roadmap for executing a multi-room remodeling project in a historic property, ensuring that trades work efficiently without destroying each other’s progress.Why Sequencing Matters in RowhomesIn a traditional Philadelphia row-home, space is tight, and systems are deeply interconnected.
PHS General Contractor Philadelphia — official website.
Philadelphia L&I: Building Permits.
The plumbing stack that serves your second-floor bathroom runs directly through the wall of your first-floor kitchen. The electrical circuits are often a messy web of old and new wiring.When renovating multiple rooms, you must treat the house as a single, holistic organism rather than isolated boxes.
The rule of thumb in construction is to work from the “inside out” and from the “top down.” You fix the hidden infrastructure before installing the expensive finishes, and you complete the messy overhead work before finishing the floors.Phase 1: Planning, Permitting, and ProcurementThe most critical phase of construction happens before anyone picks up a hammer.Finalize the Scope: Lock in your layout and design choices. Changing your mind about a shower location after the plumbing has been roughed in will trigger massive delays and change orders.Permitting: Submit your plans to Philadelphia L&I.
Depending on the scope, you will need a combination of building, plumbing, and electrical permits. You cannot begin work until the permits are approved and posted on site.Material Procurement: Never start demolition until long-lead items are sitting in a local warehouse. Custom kitchen cabinets can take 8 to 12 weeks to arrive. Specialized bathroom tile can take weeks to ship.
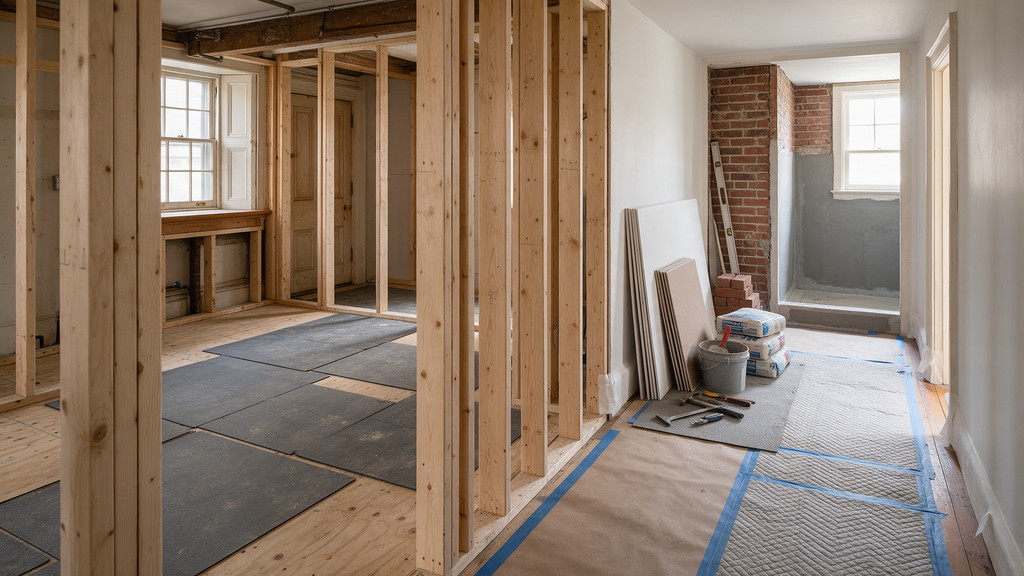
If you demolish your only functioning bathroom and then realize the shower valve is back-ordered for a month, your project is paralyzed.Phase 2: Demolition and Structural WorkOnce materials are secured, the physical work begins.Site Protection: Dust management is crucial. Protect the areas of the home that are not being renovated with heavy plastic zip-walls and floor coverings.Demolition: Tear out everything across all the rooms slated for renovation at the same time. Doing demolition in phases creates perpetual dust and necessitates renting multiple dumpsters.
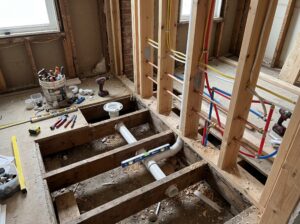
Gut the kitchen, the bathrooms, and any required plaster walls simultaneously.Structural Modifications: If you are re-framing walls, enlarging window openings, or repairing rotted floor joists, this structural carpentry must be completed before any mechanical trades enter the site.Phase 3: The “Rough-In” (MEP Trades)This is where the walls are open, and the house’s nervous system is upgraded. Sequencing here is vital so trades don’t trip over one another.Plumbing Rough-In: Plumbers require the most physical space inside the wall cavities for large PVC drain pipes and cast-iron stacks. They go first.
They will run the new supply lines and set the drains for the showers, sinks, and toilets.HVAC Rough-In: Next comes the ductwork. Rigid metal ducts take up significant space in ceilings and walls.Electrical Rough-In: Electricians are the most flexible. They can easily snake their flexible Romex wiring around the fixed plumbing pipes and bulky HVAC ducts.
They will wire all new outlets, switch boxes, and lighting fixtures.Rough Inspections: Philadelphia L&I inspectors must walk the site to approve the framing, plumbing, and electrical rough-ins before a single piece of drywall can be hung.Phase 4: Insulation and DrywallOnce the city approves the rough-in work, the walls can be closed.Insulation: Install fiberglass batts, mineral wool, or spray foam insulation in exterior walls and ceilings as required by energy codes.Drywall Installation and Taping: The drywall is hung, taped, mudded, and sanded. This is the dustiest part of the entire renovation.
It is imperative that this step is completed throughout all the renovated rooms before any finished flooring or cabinetry is brought onto the site.Phase 5: Finishes and Trim (Top-Down Approach)Now the house begins to look like a home again. The top-down rule applies here to protect the floors.Priming and First Coat of Paint: Painters spray or roll the primer and the first coat of ceiling and wall paint. It is much faster and cleaner to paint before the floors, cabinets, or baseboards are installed.Flooring Installation: Hardwood, luxury vinyl plank, or large-format tile is installed.
Once laid, the new floors must be immediately covered with heavy protective builder’s paper (like Ram Board) to prevent scratches during the rest of the project.Cabinetry and Built-Ins: The kitchen cabinets, bathroom vanities, and custom shelving are installed on top of the finished floors.Countertops and Templating: Once base cabinets are perfectly level and secured, the countertop fabricator takes digital measurements.
The counters are usually installed a week or two later.Finish Carpentry: Doors are hung, window casings are installed, and baseboards are nailed into place.Phase 6: Final Fixtures and Punch ListThe final sprint brings the project to completion.Mechanical Final (Trim-Out): The plumber returns to install toilets, faucets, and showerheads.
The electrician returns to install light fixtures, switch plates, and appliance outlets.Final Coat of Paint: The painters return to touch up scuffs, paint the trim, and apply the final coat to the walls.Final Clean and Inspections: The protective floor coverings are removed, a professional construction clean is performed, and L&I conducts the final inspections to close out the permits.

FAQs About Renovation SequencingShould I install flooring before or after kitchen cabinets
?In high-quality renovations, hardwood or LVP flooring is installed before the cabinets. This ensures the dishwasher can be easily removed for servicing in the future and maintains a continuous, level plane across the entire room.Can I live in my home during a multi-room renovation?If you are renovating your only kitchen or only full bathroom, living in the home is extremely difficult.
A complete disruption of plumbing and electrical systems, combined with heavy drywall dust, makes temporary relocation the safest and least stressful option.What happens if a trade fails a rough-in inspection?If the electrical or plumbing rough-in fails the L&I inspection, the drywall installation must be halted until the contractor corrects the issue and the inspector returns to approve it. This underscores the need for licensed, experienced tradesmen.Managing a multi-room remodel requires tight scheduling, excellent communication, and a deep understanding of trade dependencies.
Trust your whole-home renovation to the professionals at PHS General Contractor Philadelphia for a seamless, expertly sequenced project.