Undertaking a comprehensive overhaul of a residential property is a significant project that can easily stretch a homeowner’s budget and daily routine. For many property owners in East Falls or the Art Museum district, remodeling an entire house all at once may not be feasible due to financial constraints or the need to live in the home during construction. Structuring a multi-room renovation into distinct, logical phases allows you to upgrade your home systematically over time while keeping costs manageable.
A successful phased renovation requires a clear strategy to ensure that early construction phases do not interfere with or damage later updates.
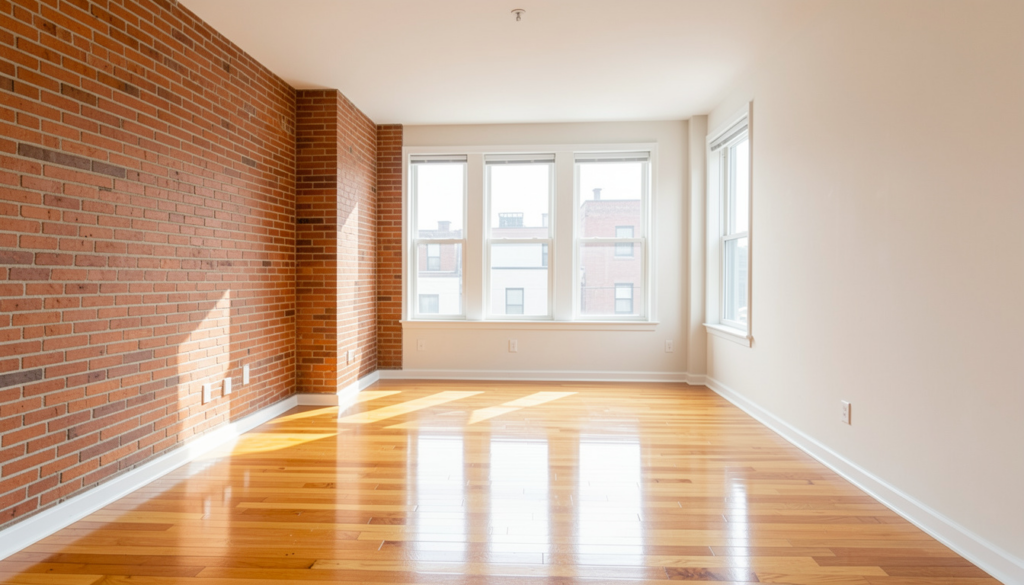
Step 1: Prioritizing Your Home’s Envelope and Structural Needs
When planning a phased home update, you should always address structural integrity and weather protection before moving on to cosmetic interior work. It makes little sense to invest in premium kitchen cabinets or custom drywall finishes if a leaking roof or a shifting foundation threatens those new materials.
+——————————————————-+
| Phased Construction Hierarchy |
+——————————————————-+
| Phase 1: Structural, Roofing, Waterproofing |
| Phase 2: Internal Infrastructure (Plumbing, Electric) |
| Phase 3: Major Functional Spaces (Kitchens, Baths) |
| Phase 4: Cosmetic Finishes (Paint, Trim, Flooring) |
+——————————————————-+
Phase one should focus on securing the home’s exterior envelope, upgrading main electrical services, and resolving structural framing or foundation issues. Tackling these fundamental mechanical and structural updates early creates a safe, stable foundation for all future interior improvements.
Step 2: Grouping Rooms to Maximize Efficiency
To minimize labor costs and daily disruption, group adjacent rooms that share utility lines into the same construction phase. For example, remodeling a kitchen and an adjacent powder room or laundry room at the same time is highly efficient because the tradespeople can run plumbing, drains, and electrical lines for both spaces simultaneously.
This approach saves money by reducing the number of times sub-contractors need to be mobilized to your home. It also consolidates the messier, disruptive rough-in work to a single window of time, keeping the rest of your home cleaner and more livable.
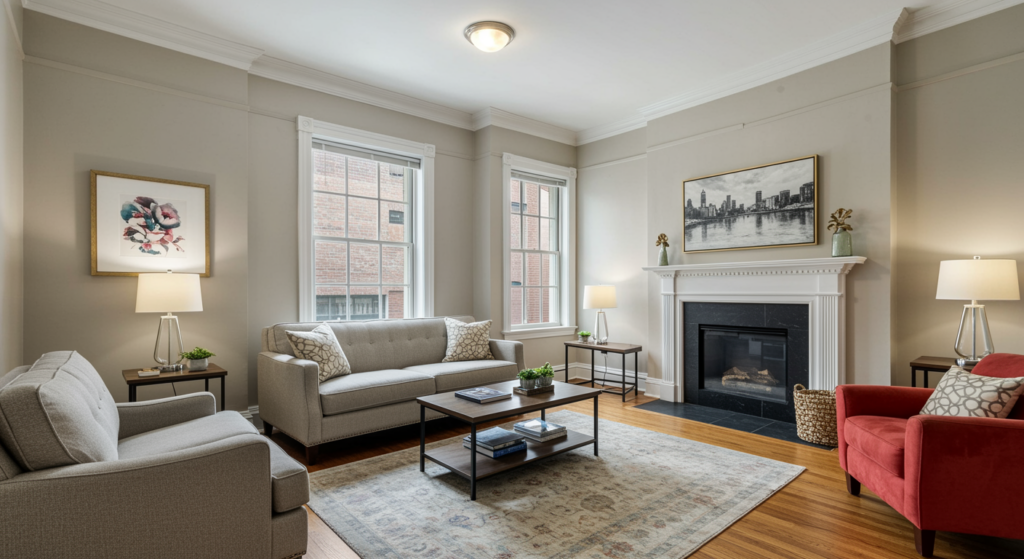
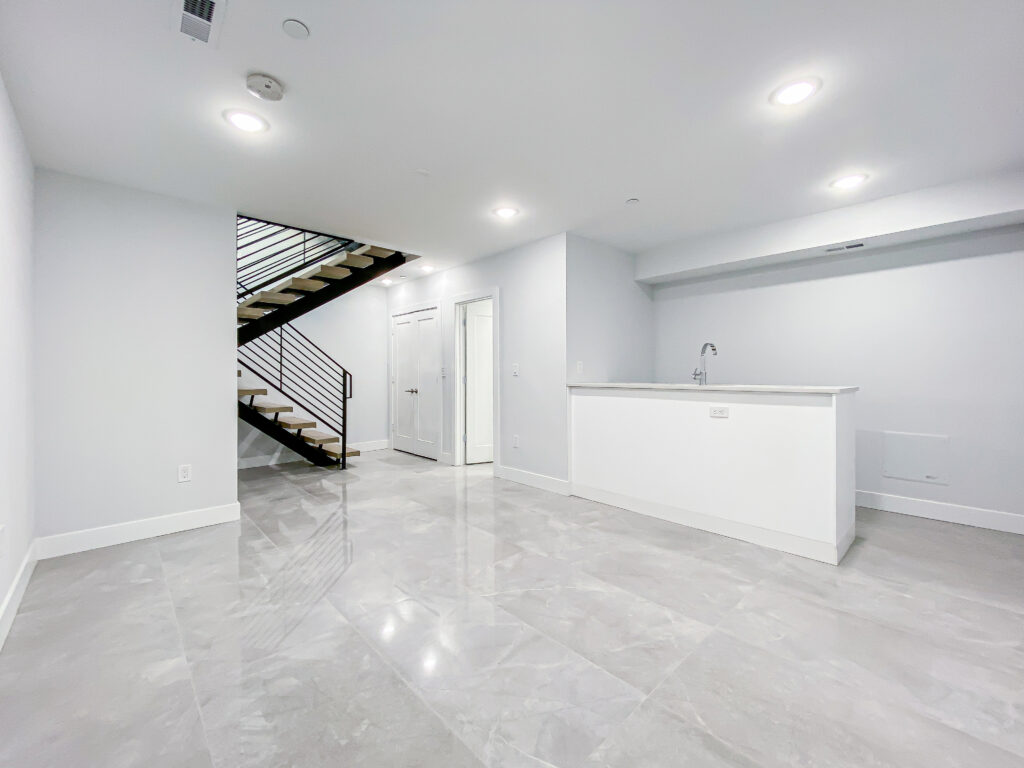
Step 3: Protecting Completed Spaces During Later Phases
One of the biggest challenges of a phased renovation is protecting freshly finished rooms from dust, foot traffic, and material deliveries during subsequent phases. Construction dust travels easily through HVAC vents and open doorways, potentially damaging new paint, flooring, and appliances.
Experienced remodeling teams use heavy-duty plastic dust barriers to isolate active work zones from completed living areas. They also lay down floor protection, like durable ram board, along main walkways and temporarily seal off return air ducts to keep construction debris from circulating through your heating and cooling system.
Step 4: Maintaining Design Consistency Across Construction Gaps
When a renovation is spread out over months or years, maintaining design consistency across different phases requires careful planning. Material styles, paint colors, and trim profiles can be discontinued by manufacturers between the time you start your project and the time you finish it.
To avoid a mismatched look, select timeless, classic trim profiles and flooring styles that are widely available. Better yet, purchase the total amount of flooring, trim, and hardware needed for the entire house during phase one. Storing these materials in a dry basement or garage ensures that your finishes will match perfectly across all rooms, no matter how much time passes between phases.
–
Thinking about updating your home in smart, budget-friendly stages? Work with a general contracting team that can help you plan, budget, and execute your long-term goals. Contact PHS General Contractor Philadelphia today to build your customized multi-room renovation plan.