Water damage on a ceiling is a serious issue that requires prompt attention. Whether caused by an upstairs plumbing leak, a failing roof flashing, or condensation from an HVAC unit, moisture can quickly compromise drywall. Property owners in older neighborhoods like Germantown and Manayunk often deal with these issues, where aging infrastructure can lead to sudden plumbing failures.
Simply painting over a water stain will not fix the problem. Lasting ceiling restoration requires a systematic approach to pinpointing the leak, removing damaged materials, and performing professional drywall repair Philadelphia homeowners can rely on for a seamless finish.
Finding and Fixing the Underlying Source of Moisture
Before starting any drywall repairs, you must completely stop the source of water infiltration. Moisture weakens the structural integrity of gypsum boards, causing them to sag, crumble, and encourage mold growth.
+——————————————————–+
| Drywall Water Remediation Checklist |
+——————————————————–+
| 1. Locate and repair plumbing or roof leak source |
| 2. Deploy dehumidifiers to dry internal cavity framing |
| 3. Inspect internal framing for rot or mold signs |
| 4. Cut out damaged board past the moisture borders |
+——————————————————–+
Once the plumbing leak or roof failure is repaired, the interior wall or ceiling cavity must be allowed to dry completely. Industrial dehumidifiers and air movers are often used to remove trapped moisture from the wood framing studs. Attempting to install new drywall against damp timber will trap moisture, leading to joint compound failure and potential mold issues down the road.
Cutting Out Damaged Materials and Preparing the Opening
Once the area is dry, all water-damaged drywall must be cut away. Moisture-weakened gypsum cannot support structural fasteners or joint compounds over the long term. Using a drywall saw, technicians cut out a square or rectangular section around the damaged area, extending the opening to the centers of the nearest undamaged joists to provide solid backing for the new patch.
The edges of the cut opening are cleaned of loose paper and debris. If the existing ceiling is made of old plaster and lath rather than modern drywall, specialized wood backing strips—or blocking—must be securely fastened inside the cavity to provide a solid, level mounting surface for the new gypsum patch material.
Hanging New Gypsum Board and Taping the Joints
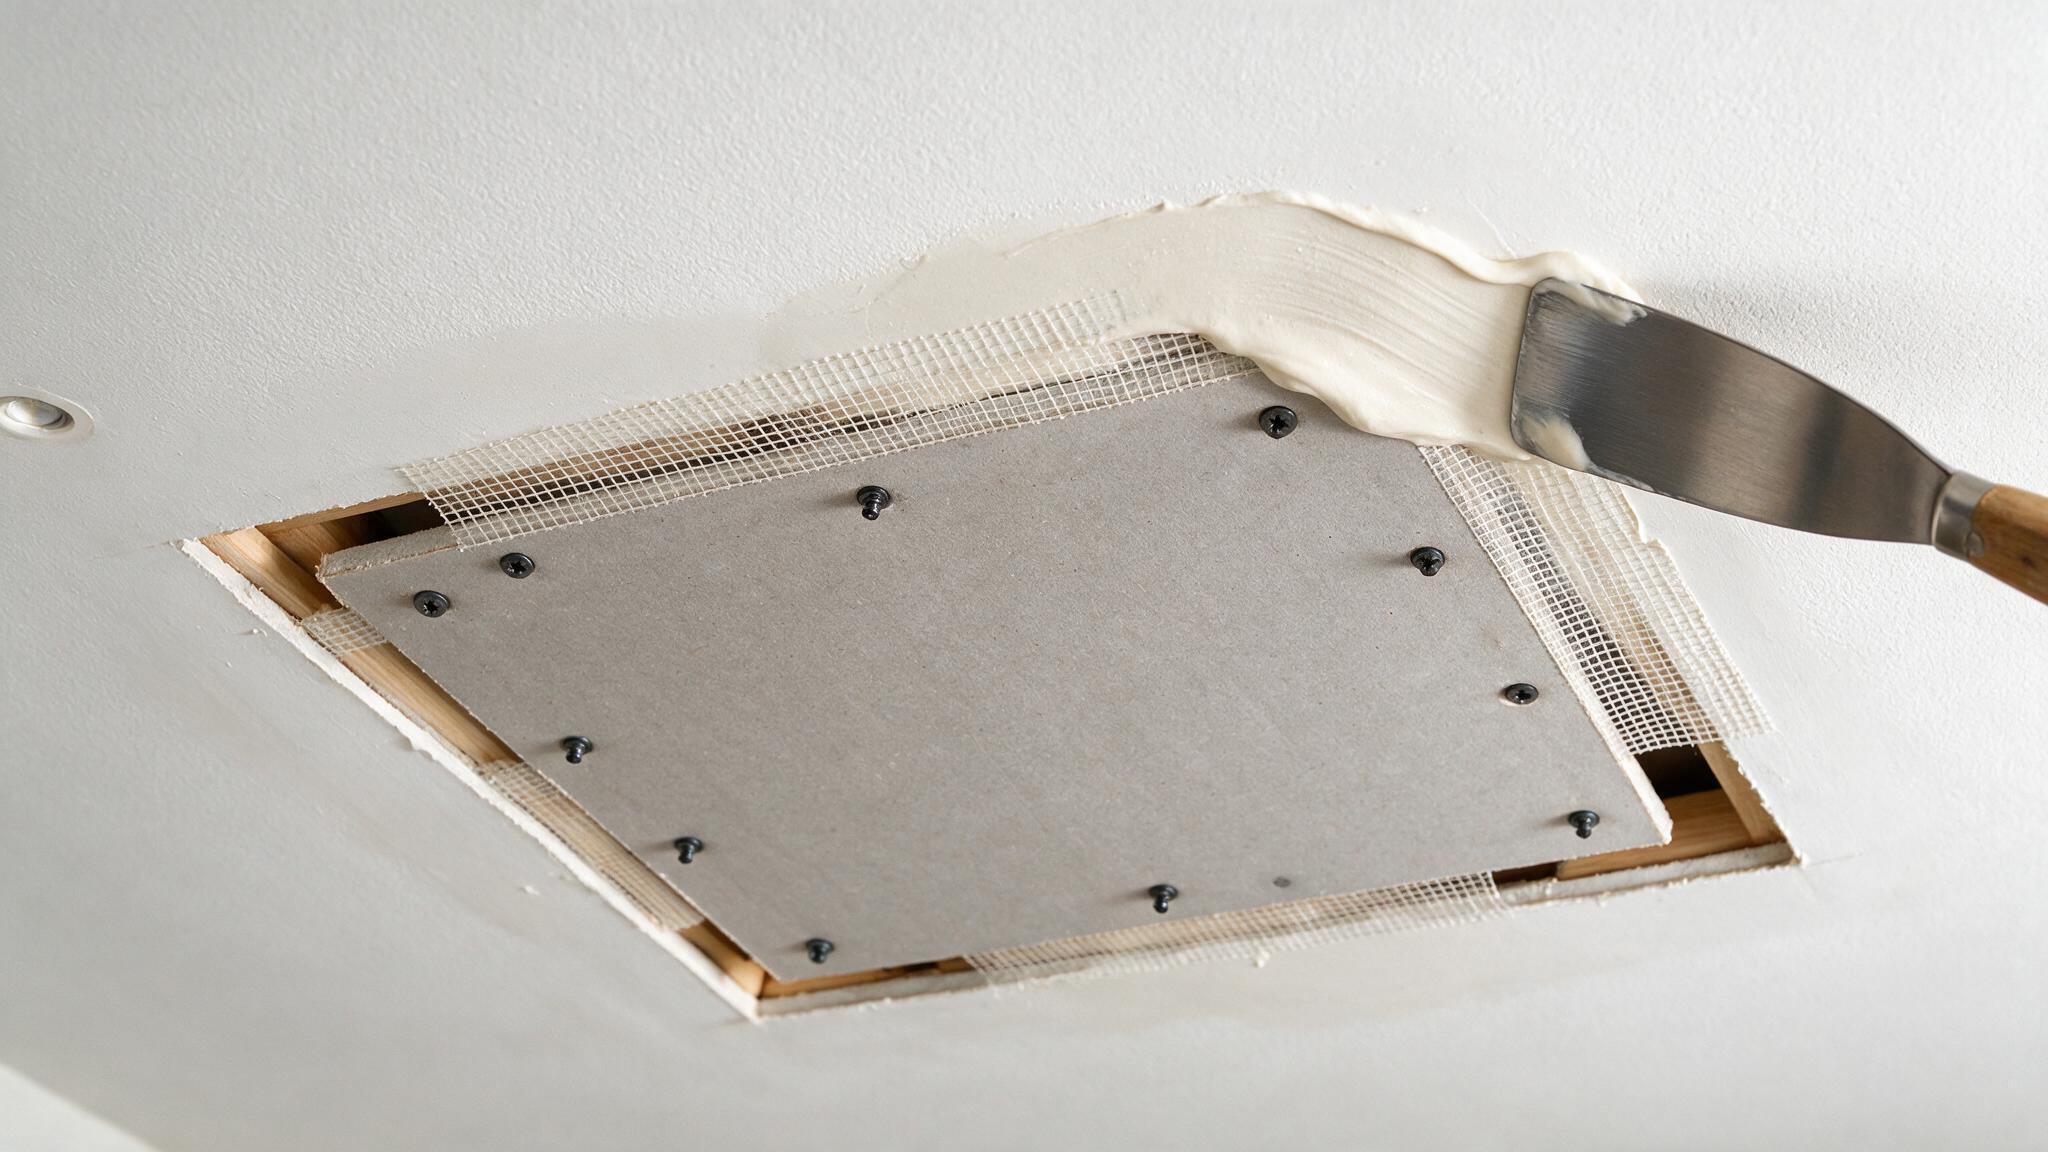
A new piece of drywall, cut to match the thickness of the existing ceiling, is fitted into the opening. It is secured to the joists and blocking using specialized drywall screws spaced every six to eight inches along the support members. The screws must be driven to create a slight dimple in the paper surface without tearing through it, ensuring a secure hold.
[Joist Support]
==============================================
[Existing Drywall] | [New Patch] | [Existing]
| |
(Mesh Tape / Compound)
Next, high-strength fiberglass mesh tape or paper tape is applied over the joints to span the gaps between the new patch and the existing ceiling. A thin layer of joint compound is pressed through the tape to lock it in place, creating the foundation for a seamless repair.
Feathering the Joint Compound for a Seamless Finish
Achieving a truly invisible repair on a flat ceiling requires applying multiple thin layers of joint compound, with each coat feathered out wider than the last. A professional tradesperson typically applies three separate coats:
- The Tape Coat: Beds the reinforcing tape and fills the main gaps.
- The Fill Coat: Smoothes out uneven areas and extends several inches past the initial joints.
- The Finish Coat: A ultra-thin layer extended 10 to 12 inches beyond the patch, designed to blend the new repair perfectly into the surrounding ceiling plane.
After the final coat dries, the area is lightly sanded using fine-grit sandpaper and a dust-collection system to eliminate any remaining ridges or tool marks. The ceiling is then treated with a high-quality, stain-blocking primer to prevent old water stains from bleeding through, followed by a full coat of flat ceiling paint to finish the restoration.
–
Dealing with an unsightly water stain or a sagging, damaged ceiling? Restore the beauty and safety of your home with professional drywall remediation. Contact PHS General Contractor Philadelphia today to schedule your expert interior repair.